
10 Shots From My Lomography Redscale First Use
Redscale Films are just basically film rolls that are shot in reverse. I’ve been wanting to use redscale and Lomo Purple ever since I started shooting film, and I’m going to share with you my experience on my first try with Lomo Redscale. So here are 10 out of 36 exposures with a short narrative how I shot each.
Brief Intro:
Soo, I noticed darker colors and those in the shadows tend to be Black, and those in the highlights were either white or light yellow. Overall each photo give a “red” look as they all look very warm and saturated. Some look slightly brown and maroon depending on the metering.
Before using Lomo redscale, I gave it a little research. And so, I learned that redscale film should be exposed 1-2 stops from the original ISO. I bought my first redscale film at around $10 way back in 2021. On the label, it says 100-400 ISO. So, of course, to be safe, I shot most of it at 200 using Konica C35 EF.
Shot #1: Double Exposure
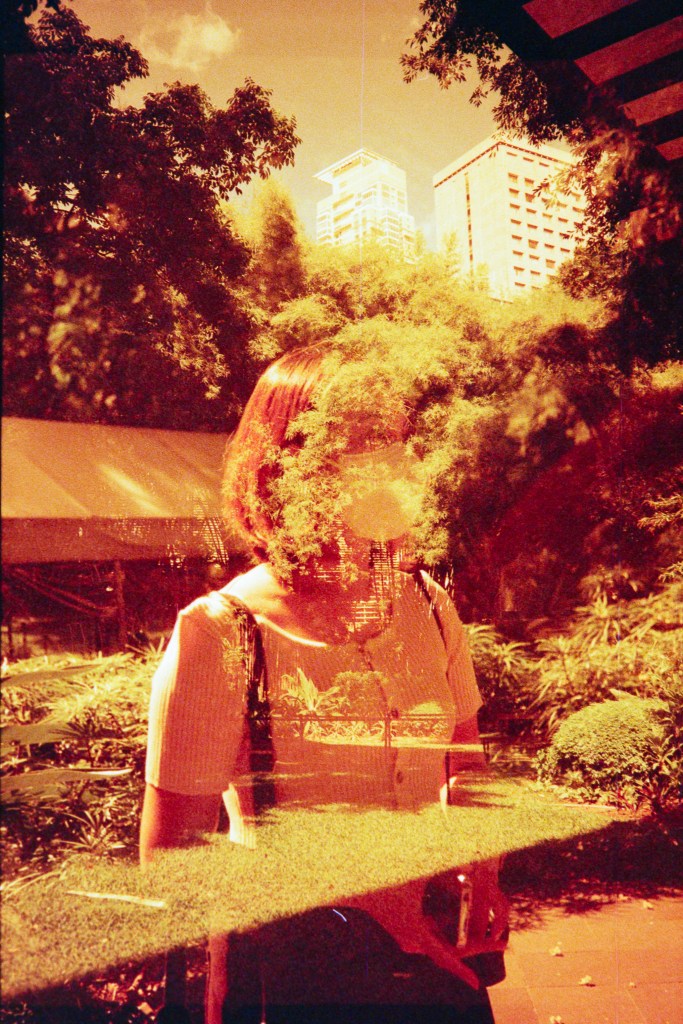
I didn’t know if redscale would suit portraits, but, I’m sure it would look good on foliage. So this is the only portrait I have using this film stock. With Konica C35 EF, you can’t really customize your metering. In able to have this double exposure shot, I first took a photo of a landscape in the shadows, rewound the film a bit, and asked my friend to pose where the sunlight directly hits her. That way, she would still stand out.
Shot #2: Train Railway

Another subject I chose to shoot with redscale is the train railway because I think it would be great with lines. In this case, all the lines vanish at one point so I think it’s good it has movement, albeit the photo looked grim because of the weathered character of the concrete. My friend said it looks like a poster from a horror movie. Haha!
Shot #3: Ferris Wheel
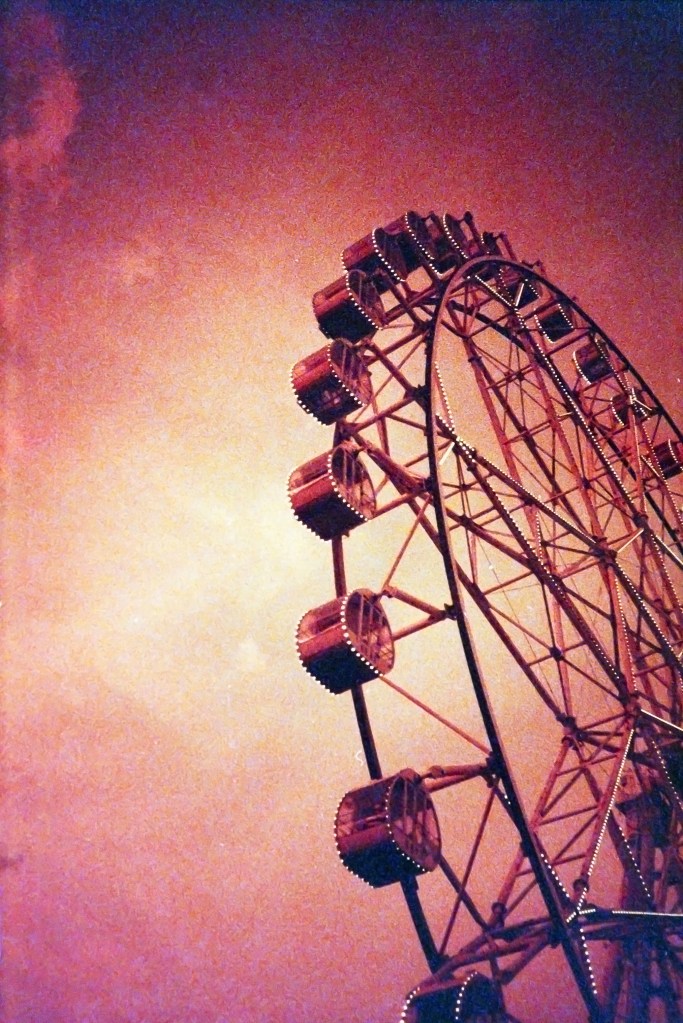
Too much noise, is it? Because I shot this at sunset time and of course, from below. I scanned and developed the negatives myself so I tried to compensate for the underexposure. It’s very limited when using point and shoot camera.
Shot #4: Couple

Shooting sunset on redscale film is a big no-no. Sunset is warm, redscale is warm, soo… what am I thinking? I decided to shot these 2 from behind, maybe they are a couple, maybe they aren’t. I don’t know, I was just glad I wasn’t caught.
Shot #5: Tree Silhouette
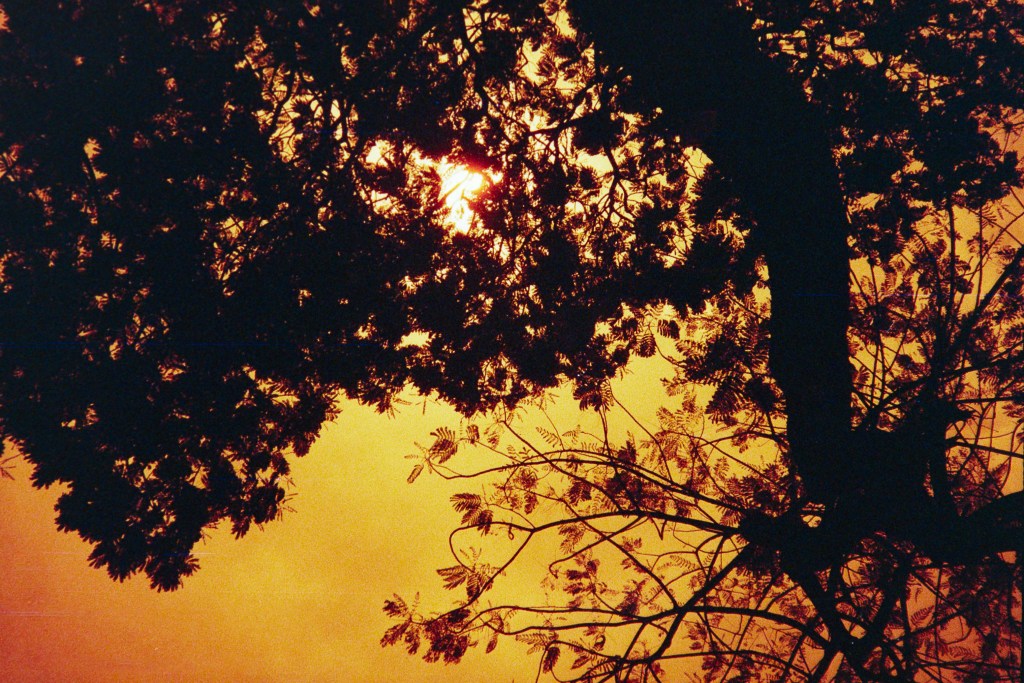
I like the details of this one. I always liked capturing the shape of leaves and they showed in the silhouette. It looked like sunset, but, I actually shot this at noon. I’m satisfied with the color.
Shot #6: Meadow
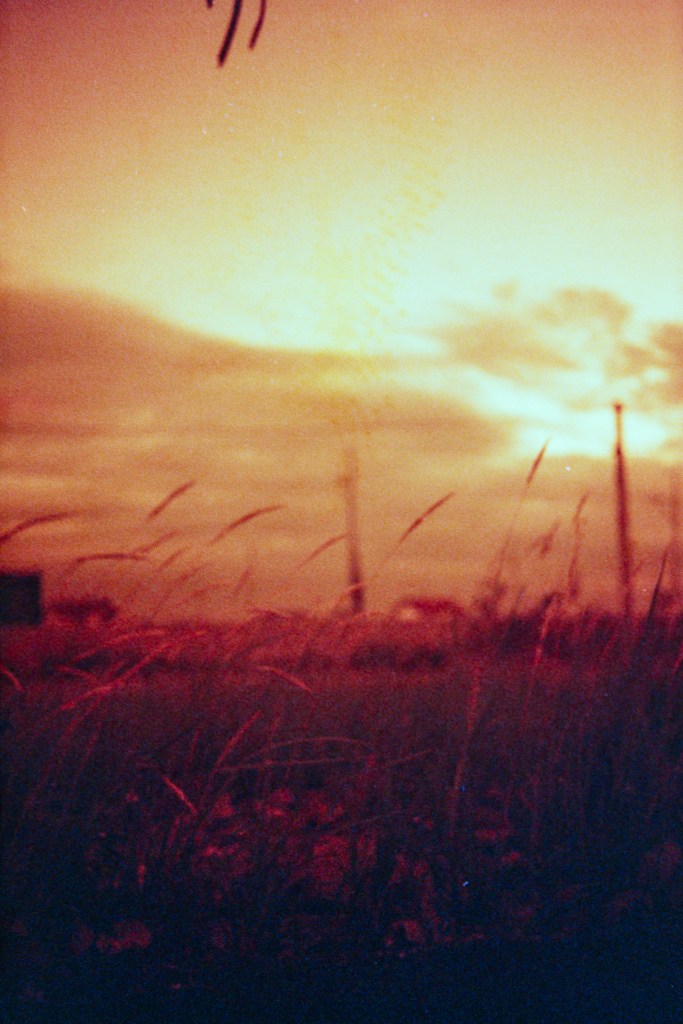
Shot this late in the afternoon while I was taking walk. Although it did not focus on the subject and it looks very blurred, it gave me an impression that it’s windy. I can easily imagine the grass swaying.
Shot #7: Tree

I just saw this tree from our neighbor’s yard and I like its shape. Soo, I captured it. Nothing fancy!
Shot #8: Geometric
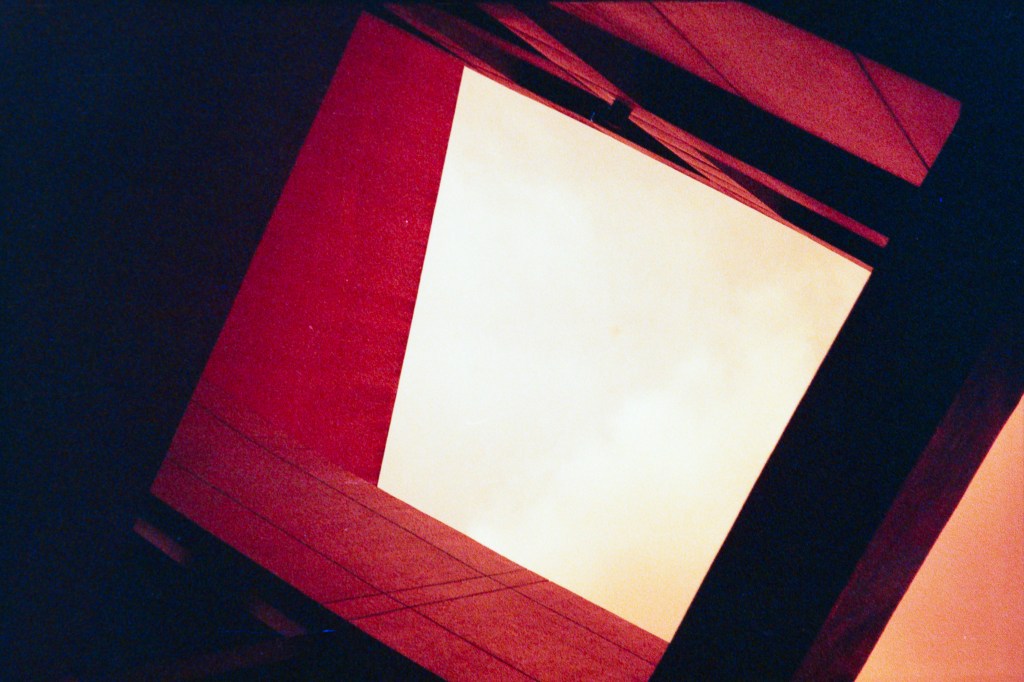
Here I can really see the color range redscale has. This showed the colors you can get from shooting redscale in each shape. (It was also late afternoon, and I can recall it was gloomy weather.)
Shot #9: Light leak
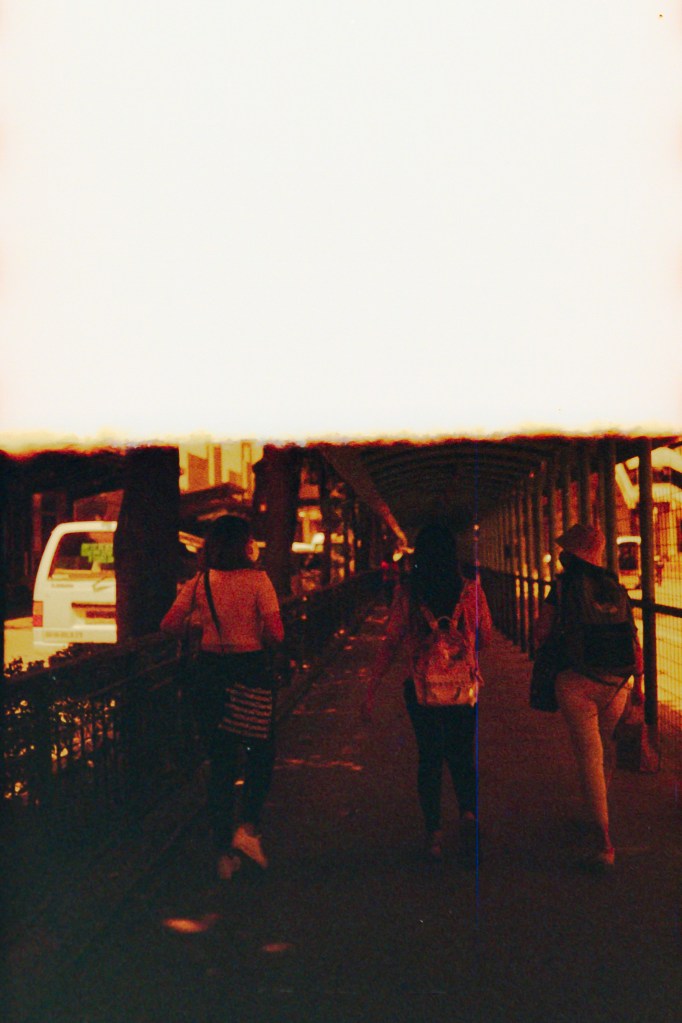
Ahh, the first shot from the roll! I’m glad those 3 people weren’t headless. By the way it’s bright sunny daytime and because of the shelter it looked shaded and underexposed. Shooting redscale can be a little unpredictable. Next time, I would use a manual film camera for this film stock.
Shot #10: Fountain

I always pass by this fountain in our block and I’m glad I shot this using redscale, It gave a different kind of drama, lol! Well, aside from the subject being NOT in the center, I like the details and maybe I should’ve overexposed it a little bit more.
How about you? What do you think of these red photos? Have you tried using redscale? What are your thoughts?
Read and browse some of my previous posts here:


Those shots were 🔥🔥🔥
LikeLike